
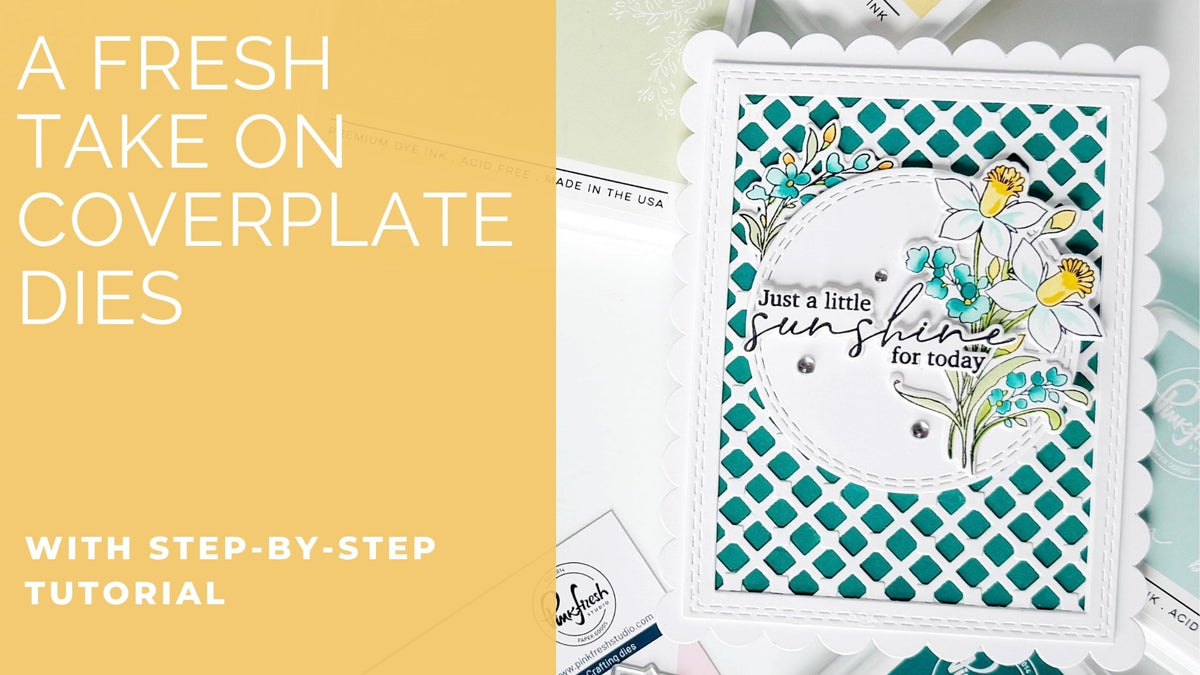
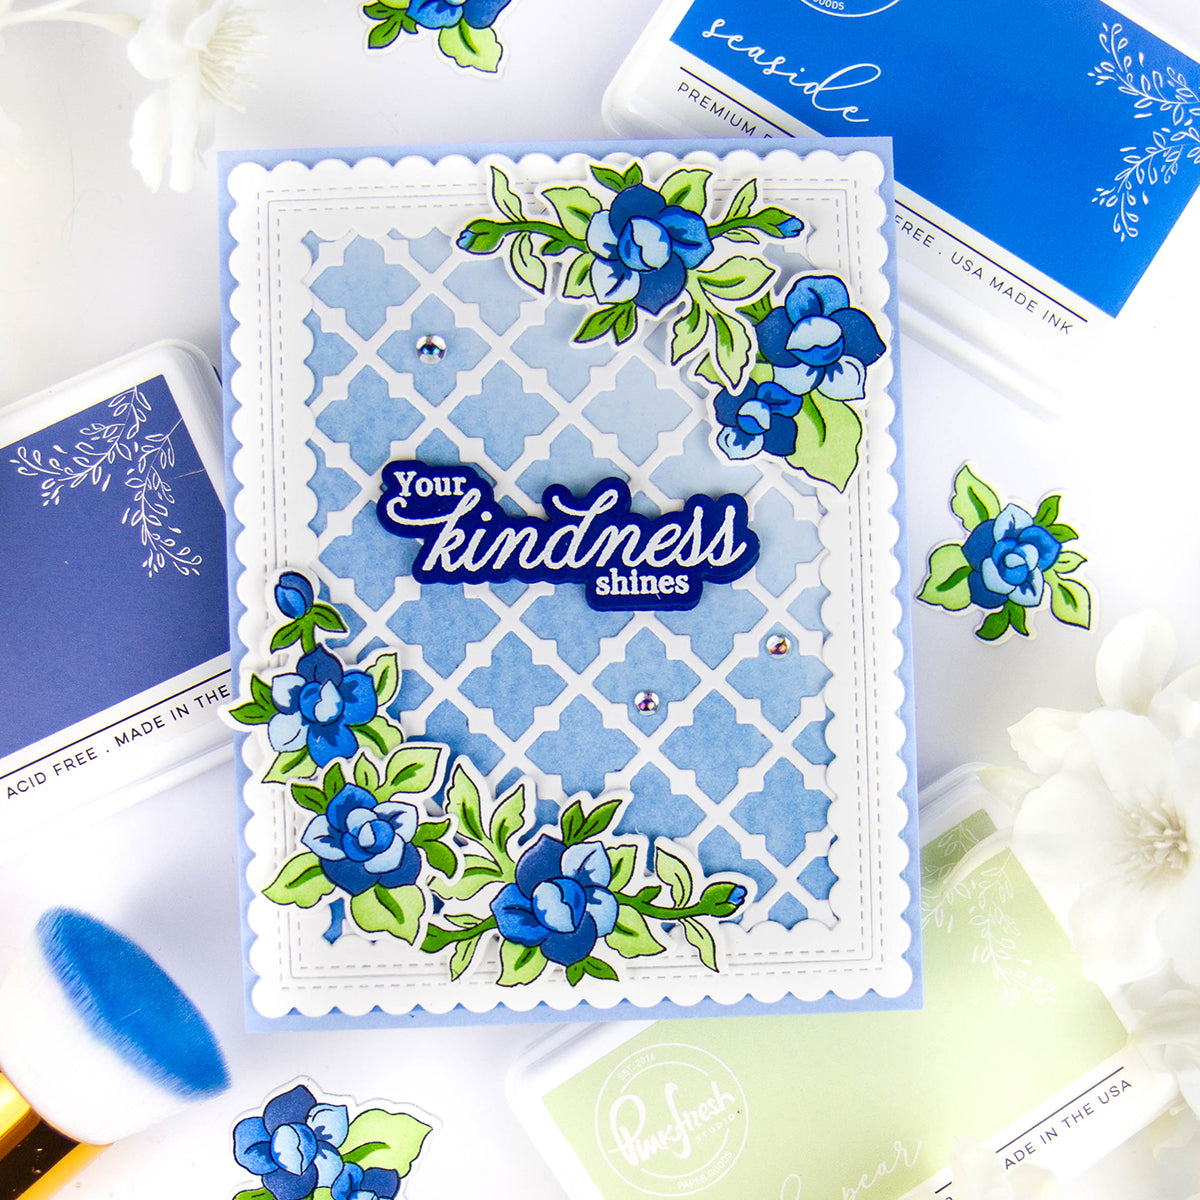
When I first layered two die cuts from the Trellis Coverplate Die together, I wasn't expecting such a dramatic transformation. By simply flipping one die cut upside down and aligning the openings, I was able to visually "shrink" the pattern, creating a much smaller, bolder geometric design that feels completely different from the original cover plate.
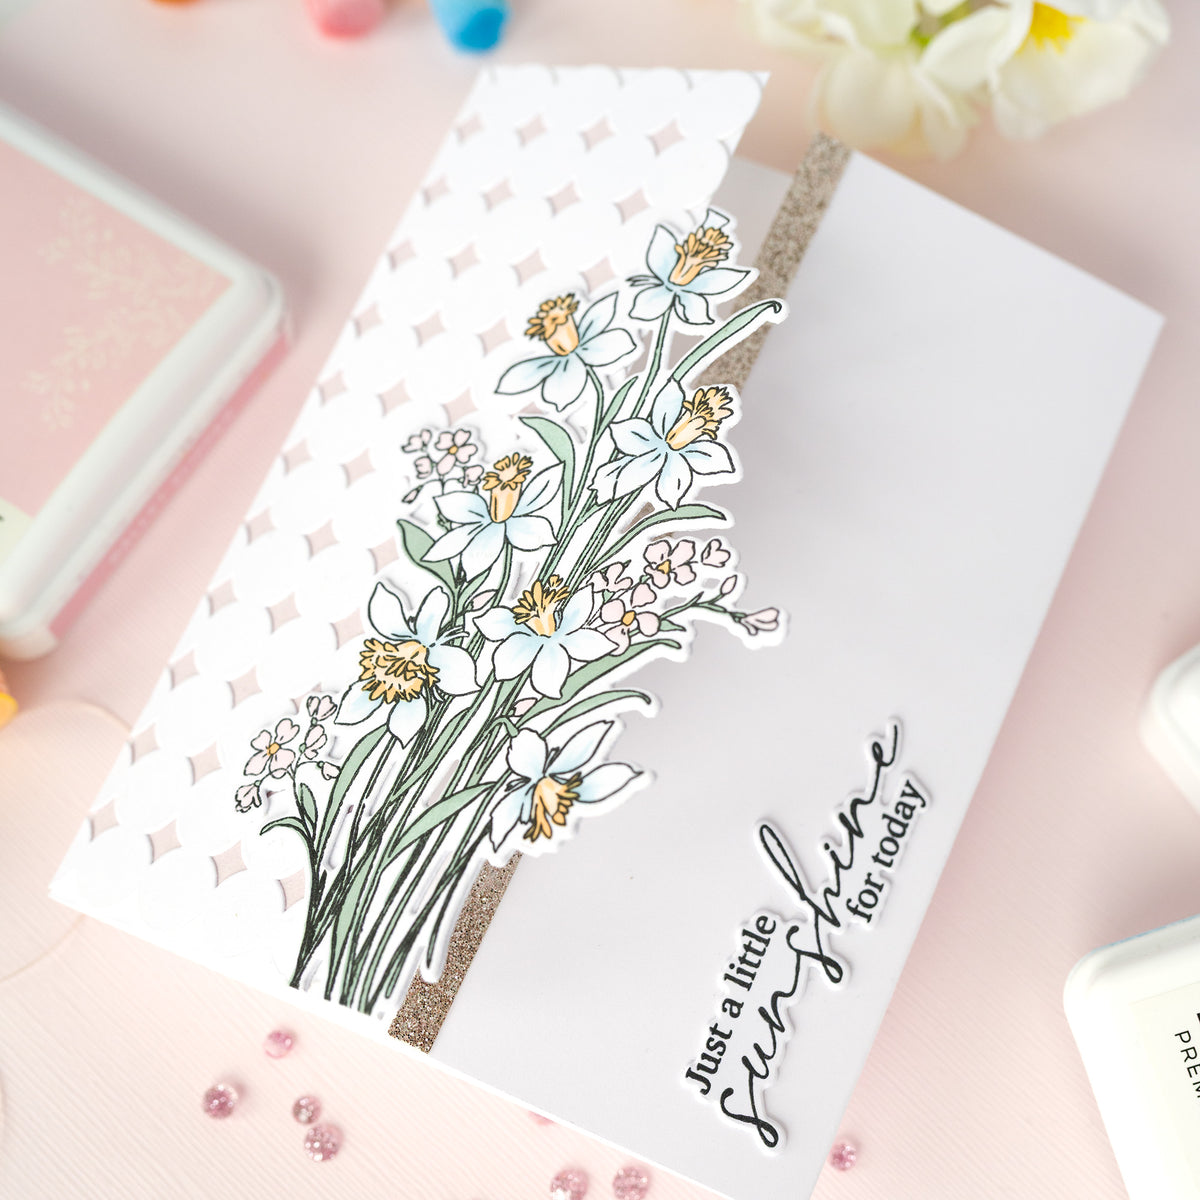
For this card, I paired that custom trellis background with the delicate beauty of the Whispering Daffodils stamp set. I also found a creative new use for the Starry Scallops Coverplate Die by using only its decorative scalloped perimeter while hiding the pierced star details behind a folded card base. These two simple modifications completely changed the look of both cover plate dies and created the perfect backdrop for a clean floral focal point.

How to re-create this card:
- Cut a piece of white cardstock to 3¾" x 10" and score at 5" to create a top-folding note card.
- Die cut the Starry Scallops Coverplate Die from white cardstock.
- Adhere the folded note card to the back of the Starry Scallops die cut, keeping the scalloped edge visible while concealing the starry details.
- Die cut the second largest Double Stitched Rectangle from white cardstock.
- Ink blend the rectangle with Tidal Pond ink, concentrating deeper color around the outer edges and leaving the center slightly lighter.
- Tape the second and third largest Double Stitched Rectangle dies together with temporary tape and die cut from white cardstock to create a frame.
- Repeat step 6, then stack and adhere the two rectangle frames together for added sturdiness.
- Die cut the Trellis Coverplate Die twice from white cardstock.
- Turn one trellis die cut upside down, align the square openings with the second trellis die cut, and adhere them together with liquid glue to create a smaller, bolder trellis pattern.
- Trim the layered trellis panel slightly smaller than the ink-blended rectangle.
- Adhere the layered trellis panel to the ink-blended rectangle using liquid glue.
- Adhere the stacked rectangle frame on top of the trellis panel to conceal the trimmed edges.
- Adhere the completed rectangle panel to the Starry Scallops card base.
- Die cut two Double Stitched Circles from white cardstock and adhere them together for sturdiness.
- Adhere the circle to the upper center of the card using thick foam tape.
- Stamp the Whispering Daffodils floral images and sentiment using Detail Black ink.
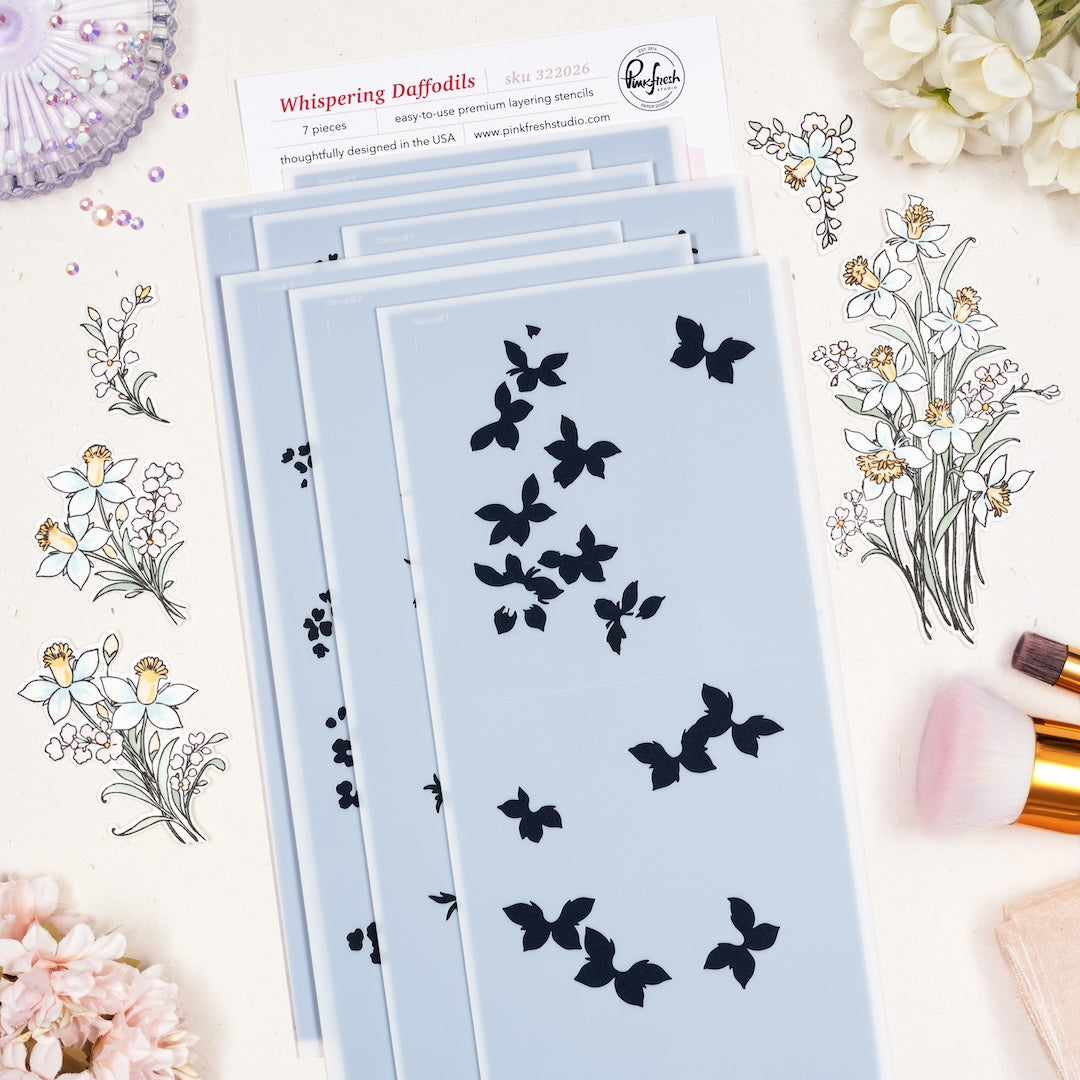
- Add color to the floral images using the coordinating stencils:
- Stencil 1: Skip to keep the flowers white
- Stencil 2: Ocean Breeze
- Stencil 3: Ocean Breeze, Tidal Pond
- Stencil 4: Lemon Whip
- Stencil 5: Marigold
- Stencil 6: Fresh Pear
- Stencil 7: Grassy Knoll, Olive
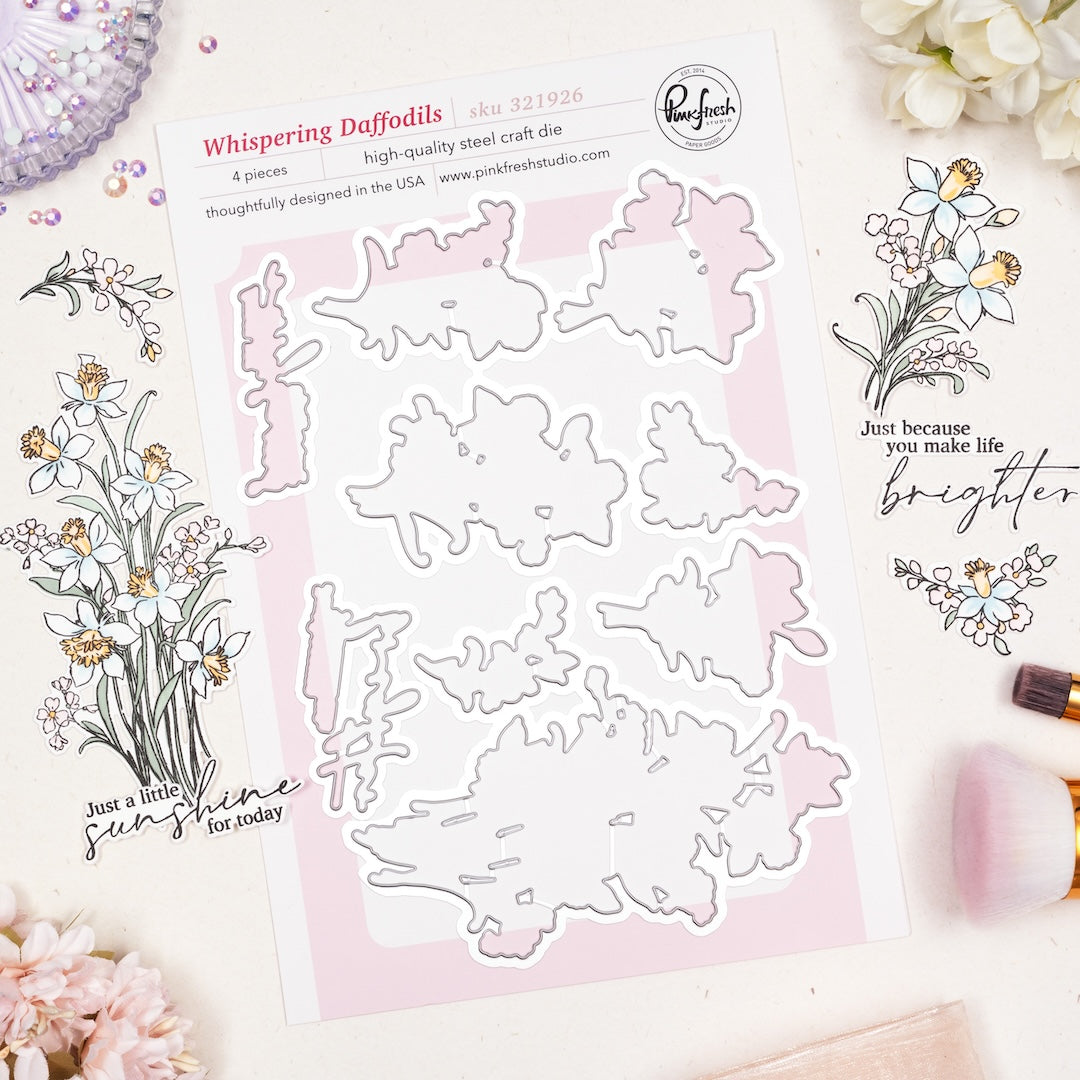
- Die cut the floral images and sentiment with the coordinating dies.
- Stack each die cut with one additional blank die cut for added sturdiness.
- Adhere the larger floral cluster to the right side of the circle using foam tape.
- Adhere the sentiment slightly overlapping the floral cluster, using thick foam tape on the left side and thin foam tape on the right side.
- Adhere the smaller floral swag to the upper left side of the circle using liquid glue.
- Finish the card with three Clear Ice Drops.


One of my favorite ways to stretch my supplies is by finding unexpected uses for products I already own, and this card is packed with those opportunities. By layering two Trellis Coverplate die cuts together, I was able to create a completely new geometric pattern that feels smaller, bolder, and more graphic than the original design. It's a simple technique, but the impact is surprisingly dramatic.
I also love how the Starry Scallops Coverplate Die serves as a decorative card base while allowing the beautiful scalloped edge to shine without competing with the focal design. Combined with the soft florals from Whispering Daffodils, these two cover plate techniques create a card that feels detailed and intricate without becoming overwhelming.
The next time you're reaching for a favorite cover plate die, try looking at it a little differently. A simple adjustment might give you an entirely new design to add to your cardmaking toolbox!
Recommended Products














2 comments
Tracy
Oooh what a great idea!! I’ve been very intimated by these intricate cover plate dies because I feel like I wouldn’t know what to do with them. But THIS is fabulous and I love that it completely changes the look of it.
Sandra Frutchey
Leave a comment
All comments are moderated before being published.
This site is protected by hCaptcha and the hCaptcha Privacy Policy and Terms of Service apply.