
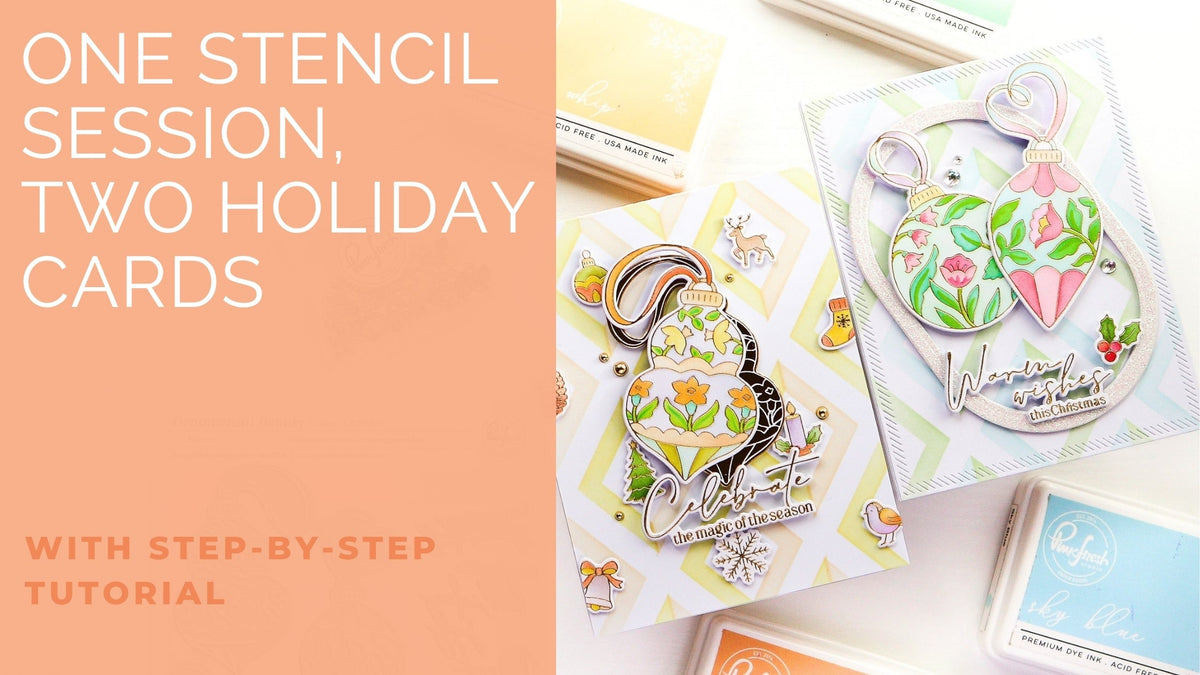
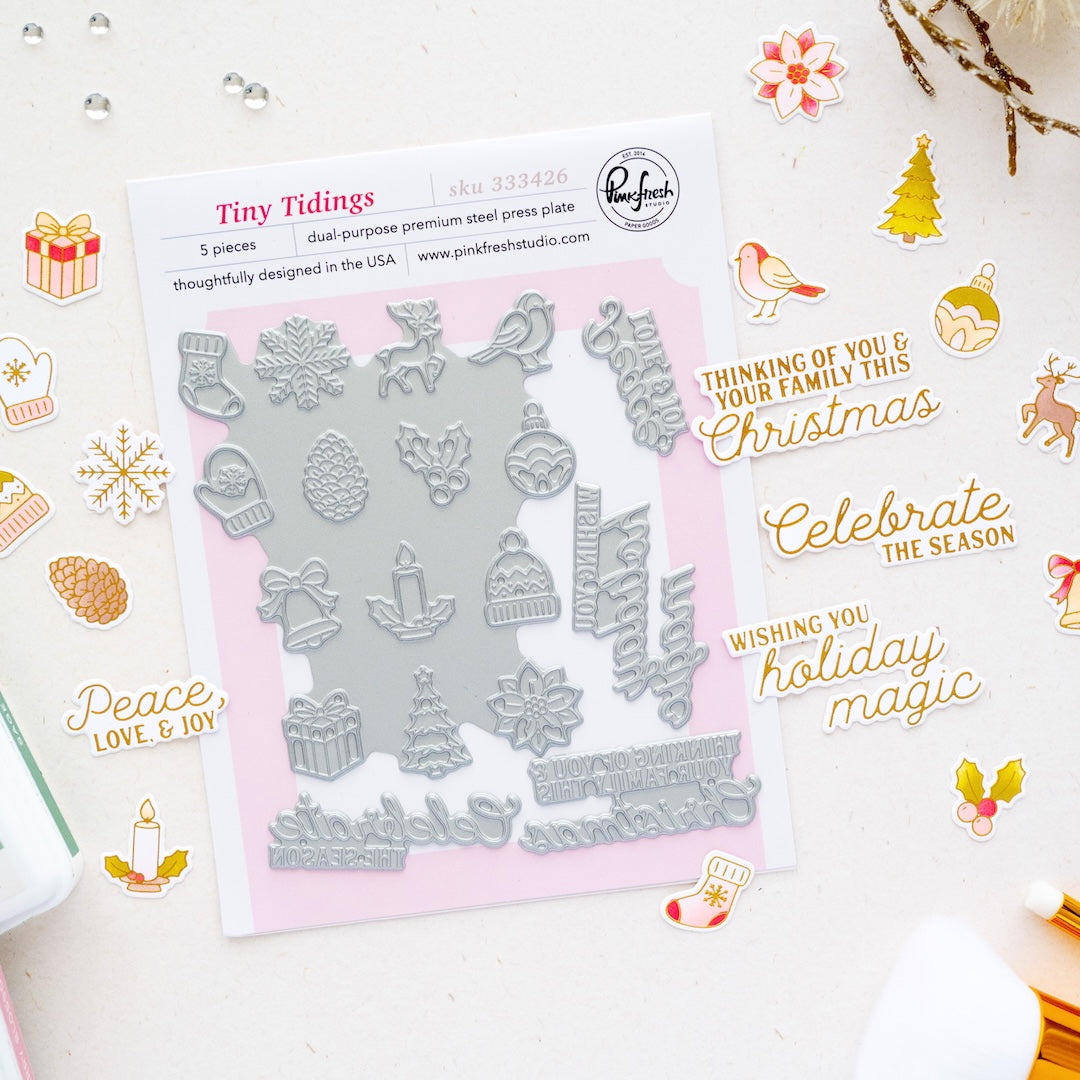
Hello everyone! I hope your week is off to a great start! It’s TaeEun here today with a pair of holiday cards featuring the Ornamental Beauty and Tiny Tidings product suites, along with the Diamond Framework Stencil set from the Season of Wonder Release.
For these two cards, I worked with two different color palettes while stenciling the images. Two of the ornaments were stenciled in a fresh pink and blue combination, while the third was colored in warmer yellow and brown tones. To do this within the same stenciling session, I simply covered the areas I didn’t want to ink with printer paper while working on each ornament. I used the same approach with the Tiny Tidings images and then coordinated the Diamond Framework backgrounds with each color palette.
*Disclaimer: All products used are linked below as clickable images. If a product isn’t listed, it’s been discontinued.

Here is how I made the card.
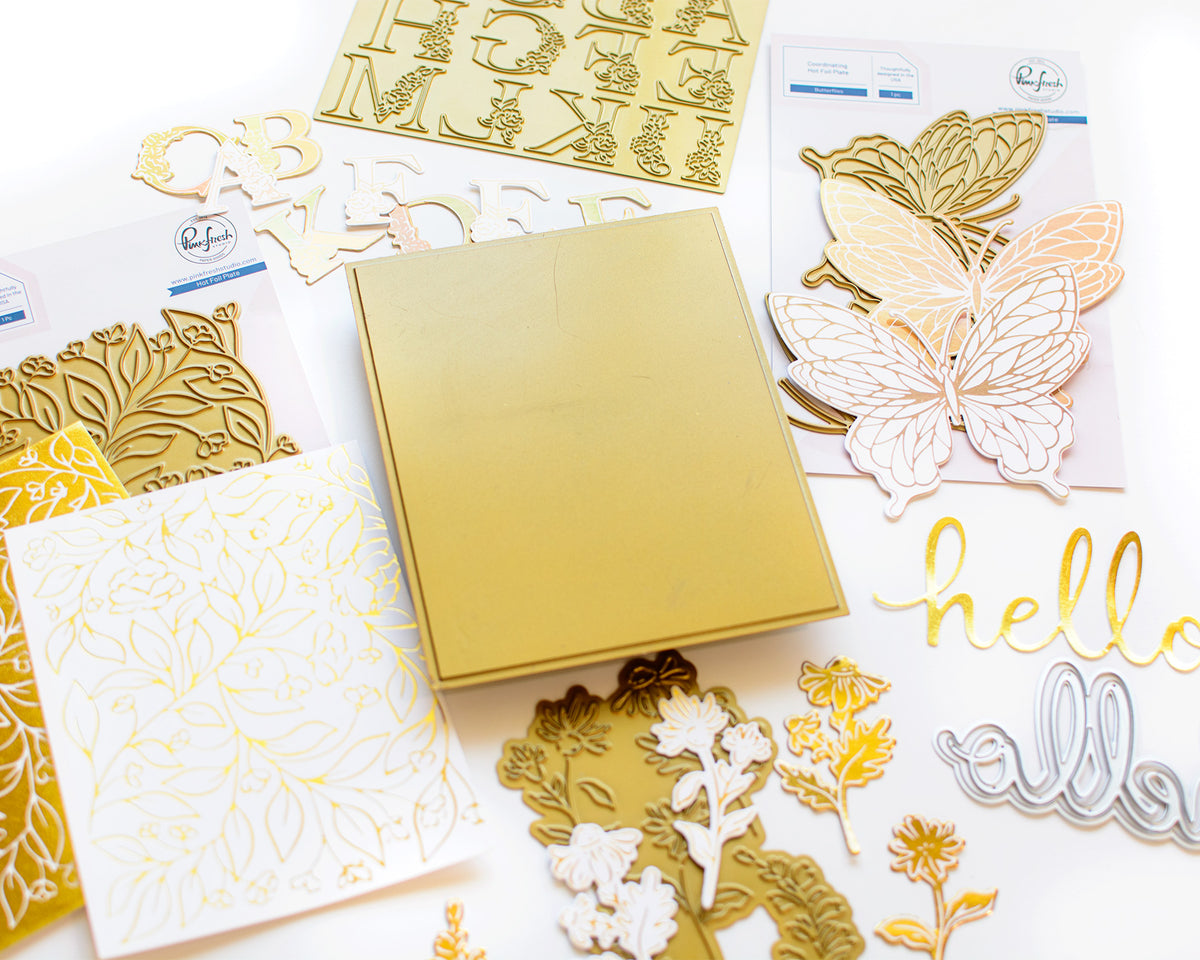
- Hot foiled the Ornamental Beauty and Tiny Tidings images in gold.
- Color the Ornamental Beauty images using the coordinating stencil set in the following colors. The colors listed after the slash were used for the ornament in the warmer color scheme.
- Stencil 1: Sky Blue, Mint / Apricot, Peach Fuzz
- Stencil 2: Lemon Whip, Warm Buff
- Stencil 3: Coral Reef, Sparkling Rose / Sky Blue, Mint
- Stencil 4: Peony, Wisteria / Sky Blue, Bay Leaf
- Stencil 5: Meadow, Aquamarine, Grassy Knoll / Apricot
- Stencil 6: Meadow, Grassy Knoll / Mimosa - Color the Tiny Tidings images using the coordinating stencils in the following colors.
- Stencil 1: Sweet Mustard, Mimosa, Gathered Twigs, Bay Leaf
- Stencil 2: Sweet Mustard, Mimosa, Sparkling Rose, Berrylicious
- Stencil 3: Sweet Mustard, Wisteria, Sparkling Rose, Berrylicious
- Stencil 4: Warm Buff, Gathered Twigs, Mimosa, Grassy Knoll
- Stencil 5: Sweet Mustard, Bay Leaf, Olive - Die cut all the stenciled images using the coordinating dies and set them aside.
- Hot foil the sentiments from the Ornamental Beauty Press Plate set in gold and die cut them with the coordinating dies.
- Stencil two A2 sized white panels using the Diamond Framework stencil set: one in Sky Blue and Fresh Pear, and the other in Lemon Whip and Peach Fuzz
- Assembling Card 1
- Adhere the Lemon Whip and Peach Fuzz Diamond Framework panel to a white cardbase.
- Add the small holiday elements from Tiny Tidings inside the diamond shapes of the background using foam tape.
- Use the negative gold foil from the ornament with the Solid Hot Foil Plate to create a solid gold ornament, then die cut it.
- Layer the colored ornament slightly off set over the gold ornament with foam tape, then add the layered piece to the center of the card.
- Foam mount the sentiment and finish the card with a few Gold Metallic Pearls
- Assembling Card 2
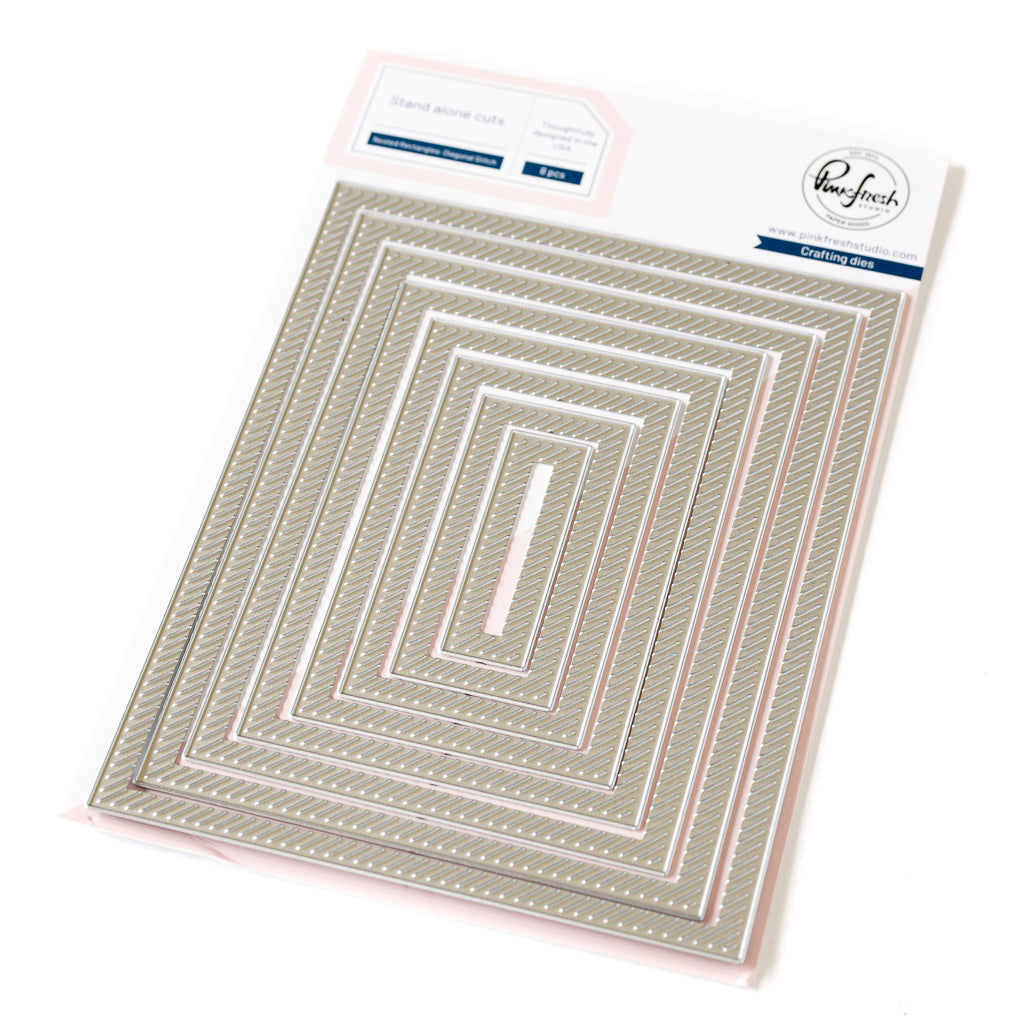
- Cut the Sky Blue and Fresh Pear Diamond Framework panel using the largest die from the Nested Rectangles Diagonal Stitch die set, then adhere it to a white cardbase.
- Cut an elongated oval frame from Glacier Glitter Cardstock using two dies from the Nested Elongated Ovals die set, and foam mount it onto the card at an angle.
- Add the two coordinating ornaments to the card using foam tape.
- Foam mount the sentiment and add the small holly berry image beside it.
- Finish the card with three Iridescent Clear Drops.


When a product suite includes several images, try coloring different images in different palettes during the same stenciling session. Simply cover the areas you don’t want to ink with printer or scrap paper while working on each section. It’s an easy way to create coordinated pieces for two different cards without repeating the entire stenciling process.
I hope this inspires you to look at your stencil sets in a new way and try creating two color versions at the same time!
Thank you and have a crafty day!
TaeEun
Recommended Products













2 comments
Tracy
Wow, gorgeous cards!! I love the tiny icons you added to the center of the stenciled background on the one card, such a great idea.
Maureen Van Dusky
LOVE EVERYTHING ABOUT THIS!! I especially love to stencil twice with two different color palettes! I will do that on my first try, but if I get it right, I may even do 2 or 3 of them each in their own color palettes and have 4-6 panels created that night. Then do all of the die cutting and fouling the next night. And then finally assemble on the third night possibly completing 6 or 8 holiday cards!’ Thank you!! You’ve inspired me!!
Leave a comment
All comments are moderated before being published.
This site is protected by hCaptcha and the hCaptcha Privacy Policy and Terms of Service apply.