

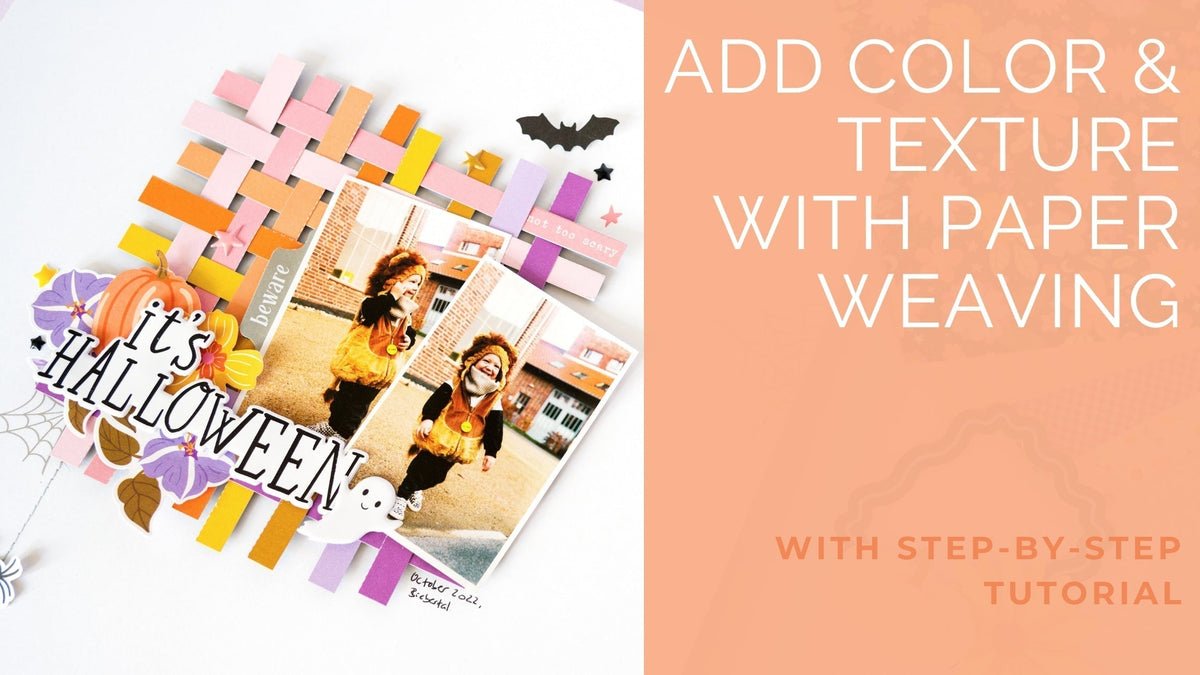
Hi, friends! I'm so excited to be sharing another layout featuring the adorable BooVille Collection! For this project, I wanted to give a patterned paper a completely new purpose by turning it into a custom grid background. It's a simple technique that adds dimension, creates lots of little spaces for color, and naturally draws the eye to your photo.
*Disclaimer: All products used are linked below as clickable images. If a product isn’t listed, it’s been discontinued.

Step-by-Step Instructions
- Start by choosing a patterned paper with a plaid or grid design. Carefully cut away the inside sections, leaving only the frame of the pattern to create an open grid.
- Back the center openings with pieces of coordinating patterned paper from the BooVille Collection.
- Add foam adhesive behind the grid before attaching it to your cardstock. Raising the grid with foam adds dimension and helps each colorful section stand out.
- Place your photo over one side of the grid, allowing it to overlap several sections. This helps soften the geometric design while creating a strong focal point.
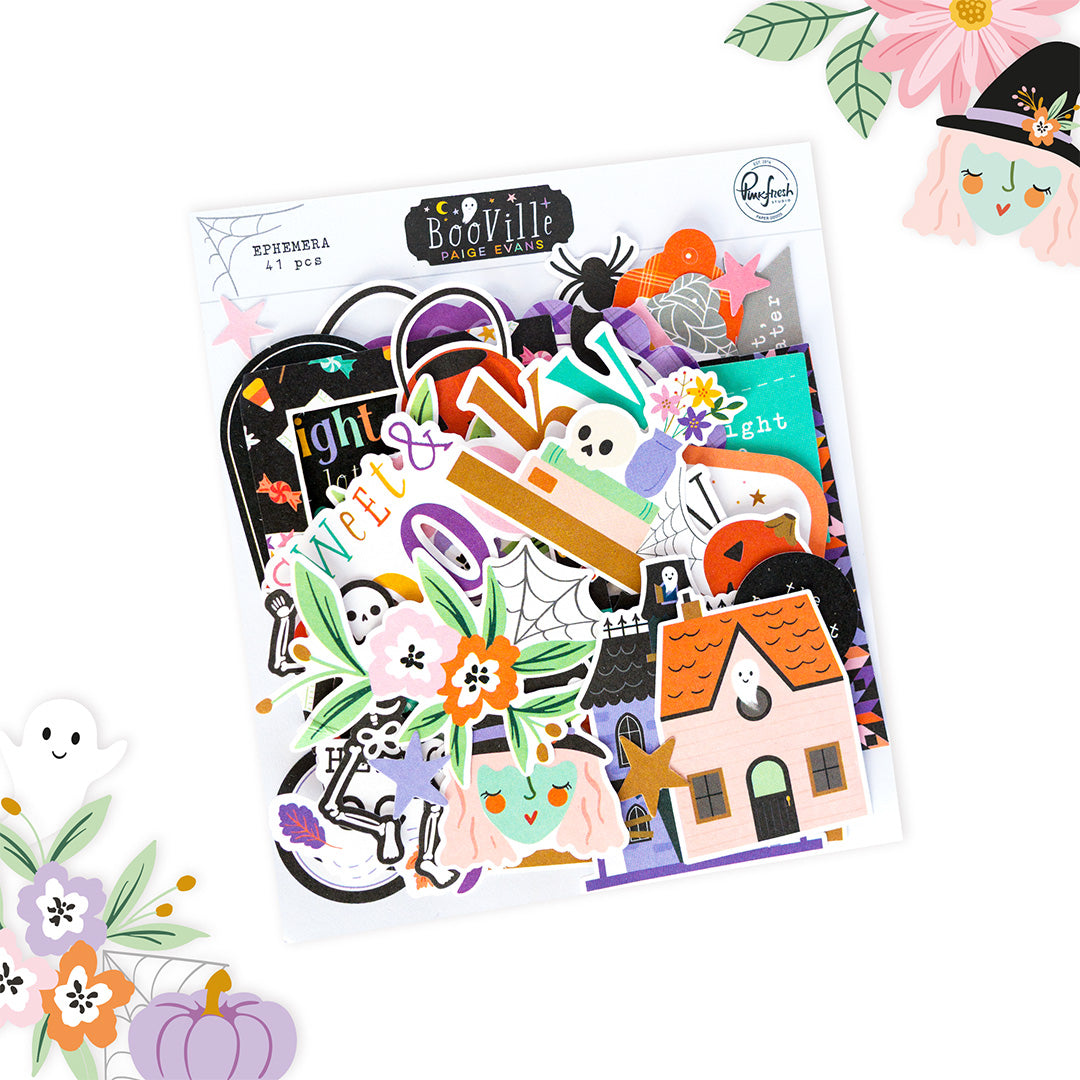
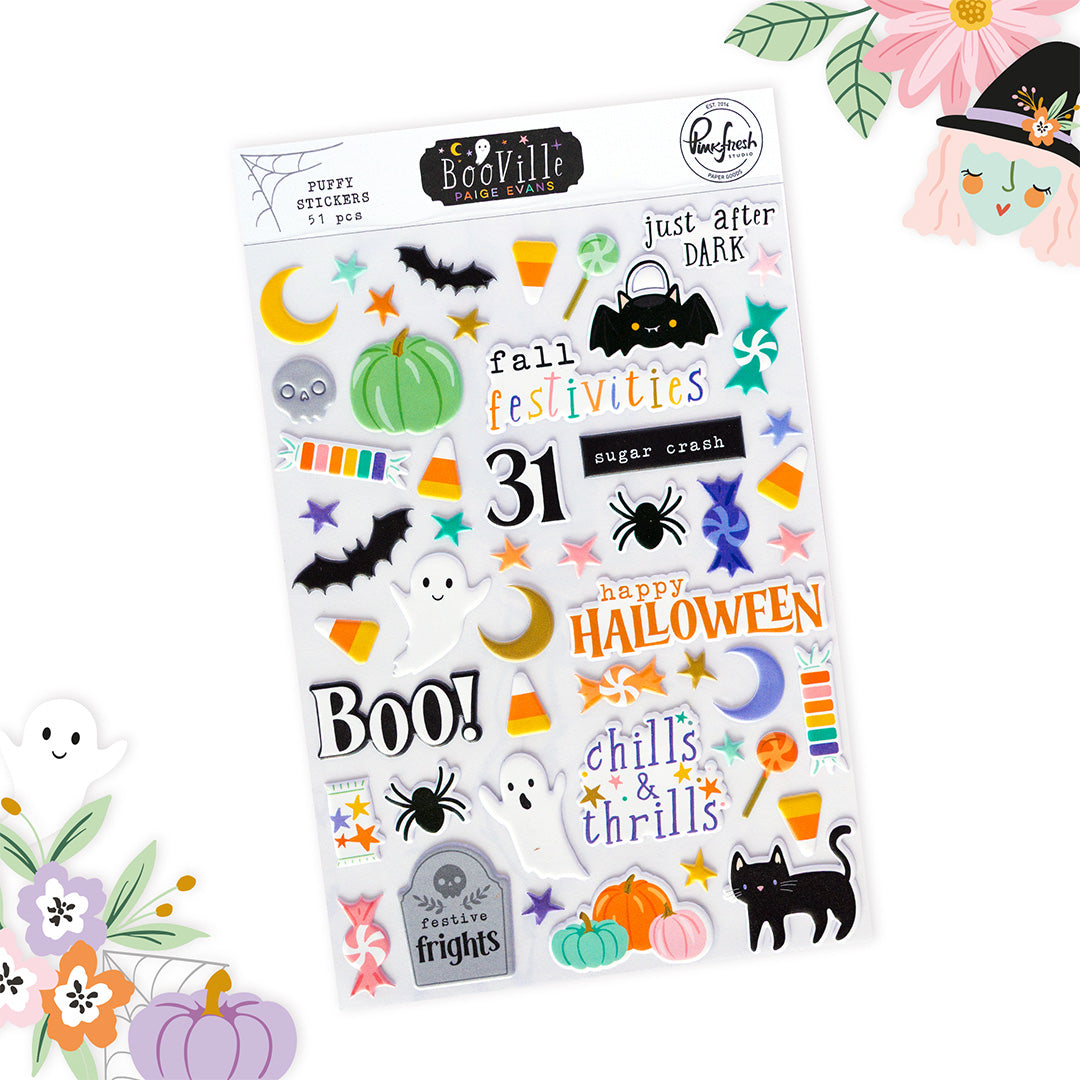
- Build clusters around your photo using ephemera, chipboard, puffy stickers, and a few floral elements. Layer different embellishments to add depth and bring the design to life.
- Finish by adding your title and a few small embellishments throughout the grid to create visual balance and guide the eye across the layout.

Tip: When working with geometric designs, soften the look by adding organic elements like florals and leaves. The contrast creates a more balanced and dynamic composition.
I hope today's project inspires you to look at your patterned papers in a different way and experiment with turning them into design elements instead of simply using them as backgrounds.
Thanks so much for stopping by, and happy crafting!
Eva
Recommended Products








Leave a comment
All comments are moderated before being published.
This site is protected by hCaptcha and the hCaptcha Privacy Policy and Terms of Service apply.