

Hi everyone! It's Kathleen with you today and I wanted to share a closer look at a card I started creating during a recent YouTube Live stream but didn't get the time to finish.
In this Live session I shared two different ink blending ideas with the Wildflower Notes stencil and finished the card with the "traditional" stenciling. If you missed it, make sure to check out the replay below!
If you’re not familiar, we go live on our YouTube channel every Tuesday at noon CT for a fun, 60-minute cardmaking session—complete with amazing inspiration, lively chat, and of course, giveaways! So don't miss out!
*Disclaimer: All products used are linked below as clickable images. If a product isn’t listed, it’s been discontinued.


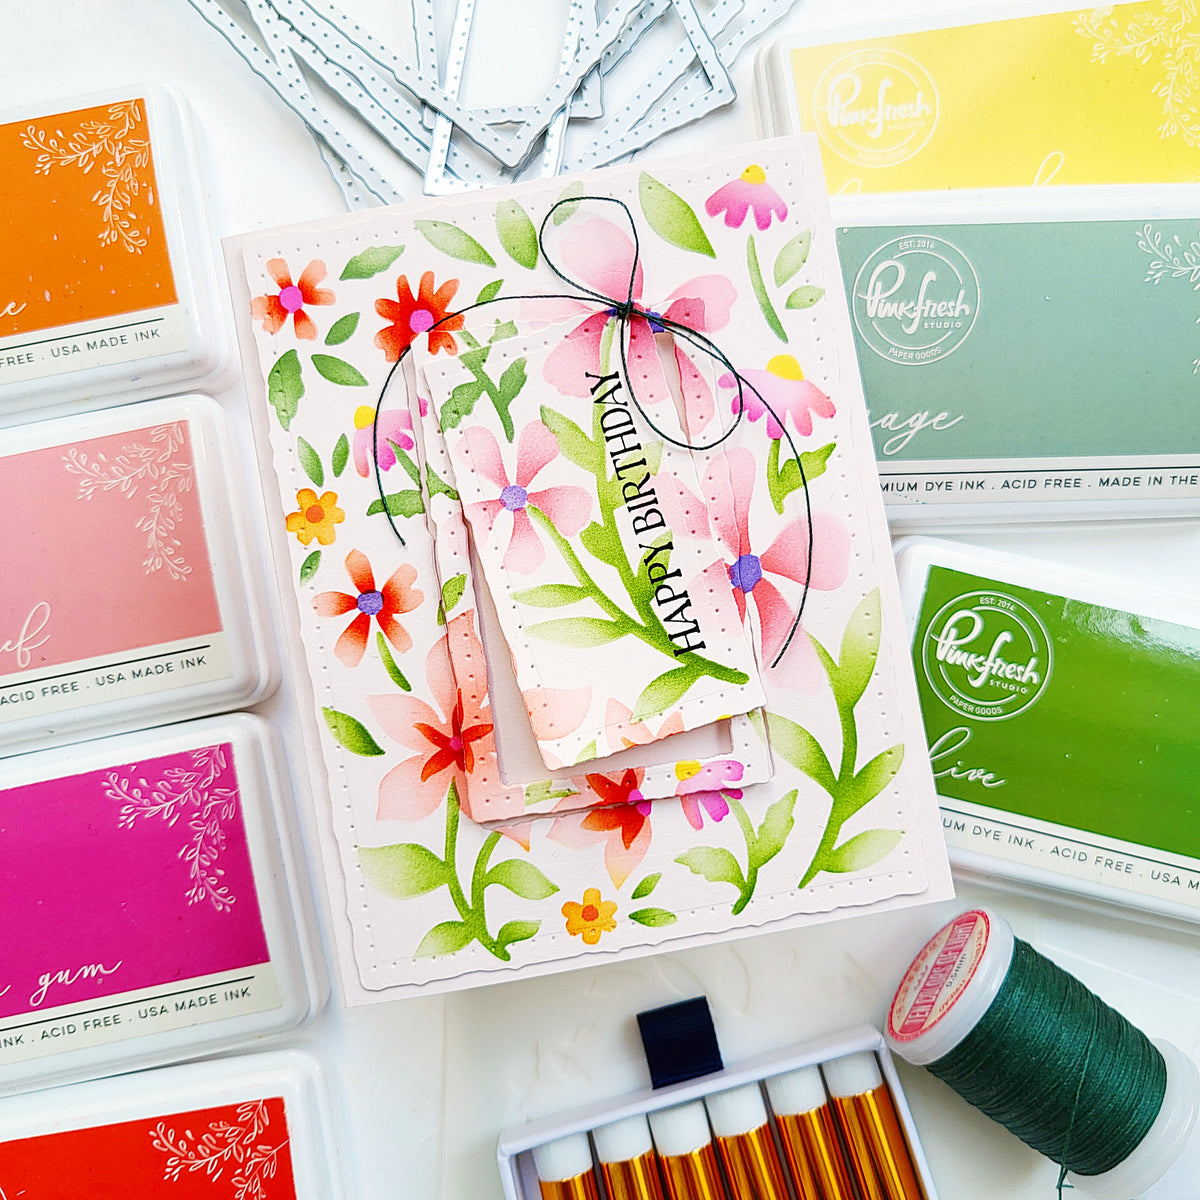
For the second card, instead of ink blending each part of the design or each stencil with a different color, I used all of the colors for each stencil layer to create a fun ombré effect! It's a great way to give a design a fresh new look and to stretch your supplies - especially stand-alone stencils!
Let's take a look at how you can recreate this sparkly shaker card:
-
Card Base:
- (1) A2 top-folding from white cardstock
- Dry emboss the card front with the Sunlit Garden press plate.
- (1) A2 top-folding from white cardstock
-
Wildflower Notes:
- Ink blend the Wildflower Notes stencil on an A2 panel of white cardstock.
- Use the same colors for each stencil, going from top to bottom: Hydrangea, Cherry Blossom, Citron, and Sage. Add Calico White to the large flower centers.
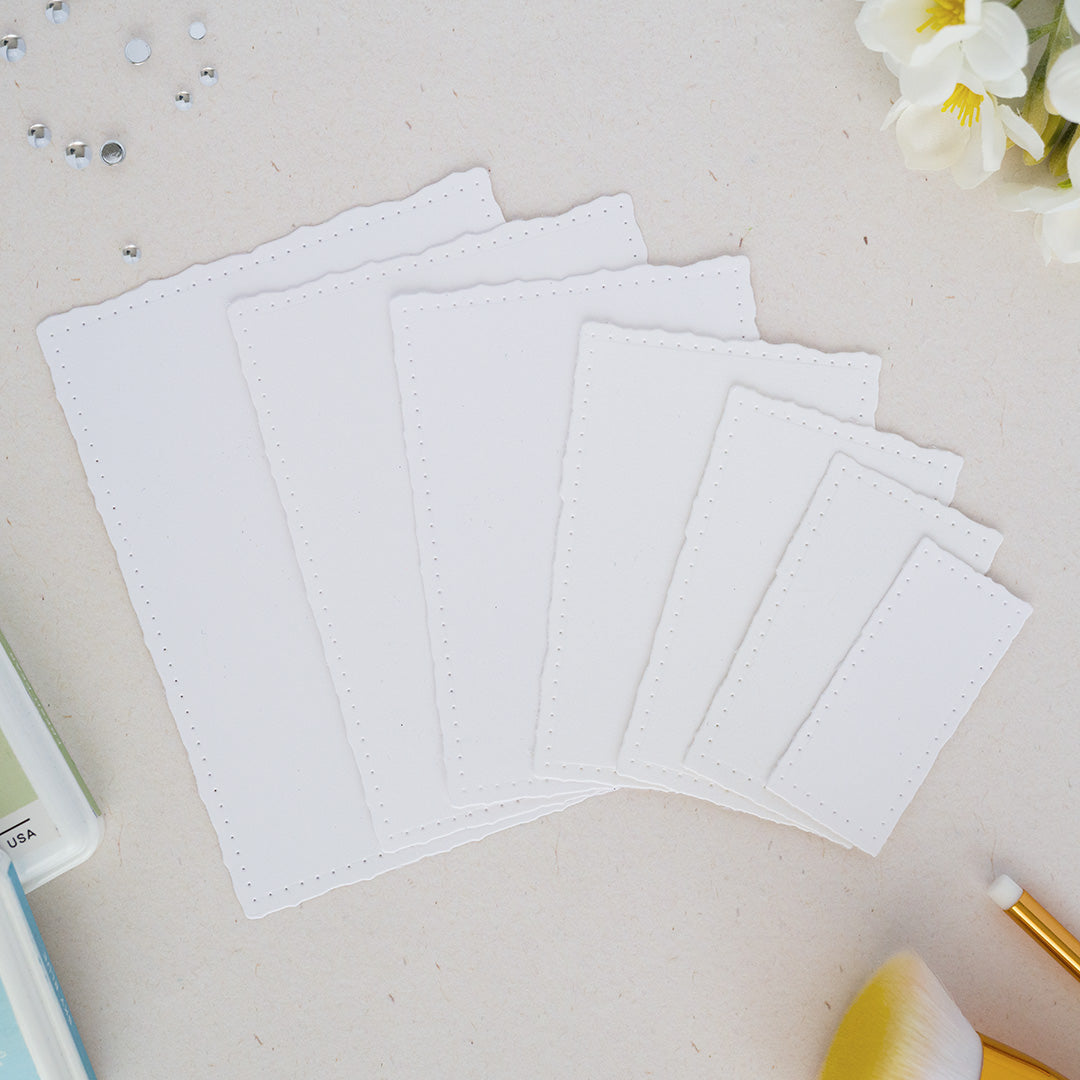
- Die cut the ink-blended panel with the third-largest Dotted Nested Deckled Rectangle die & set aside.
Tip: If you place the die centered onto the panel, you can keep the off-cut for a second card!
-
Shaker Element:
- Tape the third and fourth-largest Dotted Nested Deckled Rectangle dies together and die cut (3) white cardstock frames and (1) Silver Glitter Cardstock frame.
- Back the silver glitter frame with Heat-Resistant Acetate.
- Stack and adhere the white cardstock frames to the back.
- Treat the inside of the acetate with anti-static powder, then brush off any excess to prevent the glitter or sequins from sticking to the acetate.
- Adhere the ink-blended panel to the back of the frame, aligning the edges to seal the shaker.
- Adhere the shaker element centered onto the card front.
- Tape the third and fourth-largest Dotted Nested Deckled Rectangle dies together and die cut (3) white cardstock frames and (1) Silver Glitter Cardstock frame.
-
Sentiment: Hot foil (or heat emboss) a sentiment of your choice in silver. Die cut & stack it with (2) blank pieces, then adhere on top of the shaker element.
- Embellish to your liking, e.g. using Iridescent Dew Drops.

I hope you feel inspired by these projects and give this ombré stenciling technique a try! And if you want to know how to create the other card, make sure to watch the YouTube Live replay.
And as always, we’d love to see what you create—don’t forget to tag us on social media (@pinkfreshstudio and @cardsandconfetti) so we can admire your amazing work.
Thanks so much for stopping by today & I hope you feel inspired to try these ideas!
Recommended Products







1 comment
Tracy
Fun to see both completed cards here! I watched the live where you made the one card and had some ideas for the second. The white dots you added are still spectacular!!
Leave a comment
All comments are moderated before being published.
This site is protected by hCaptcha and the hCaptcha Privacy Policy and Terms of Service apply.