
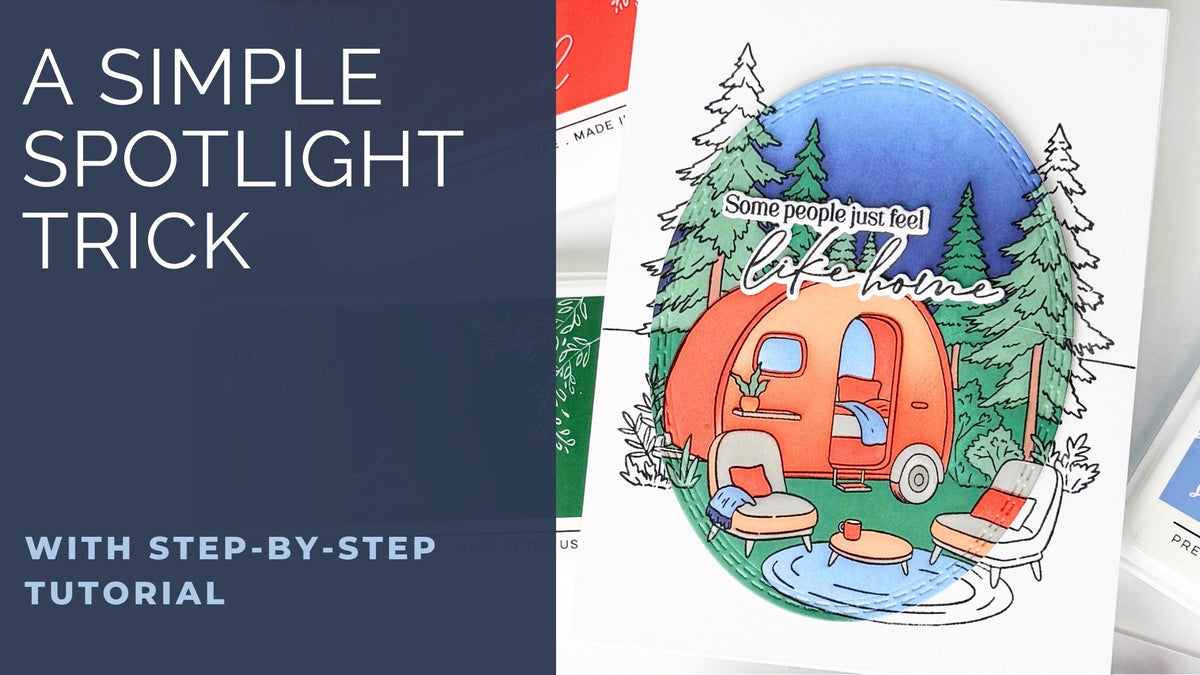
Today's card uses a simple spotlight technique to draw all the attention to the beautifully colored Retro Camp Days scene. By stamping the image twice and layering a die-cut oval over an uncolored background, the finished design creates a striking focal point while adding subtle dimension.
The rich nighttime sky paired with vibrant camping colors makes this an eye-catching design that's surprisingly easy to recreate. Let's get started!
This card was inspired by the talented Charlene Madrid. You can check out her original card HERE.

How to re-create this card:
- Cut a 4 1/4" x 11" piece of white cardstock and score at 5 1/2" to create a top-folding A2 card base.
- Stamp the Retro Camp Days image in the same position on two white A2 panels using Detail Black ink.
- Adhere one stamped panel to the front of the card base without coloring it.
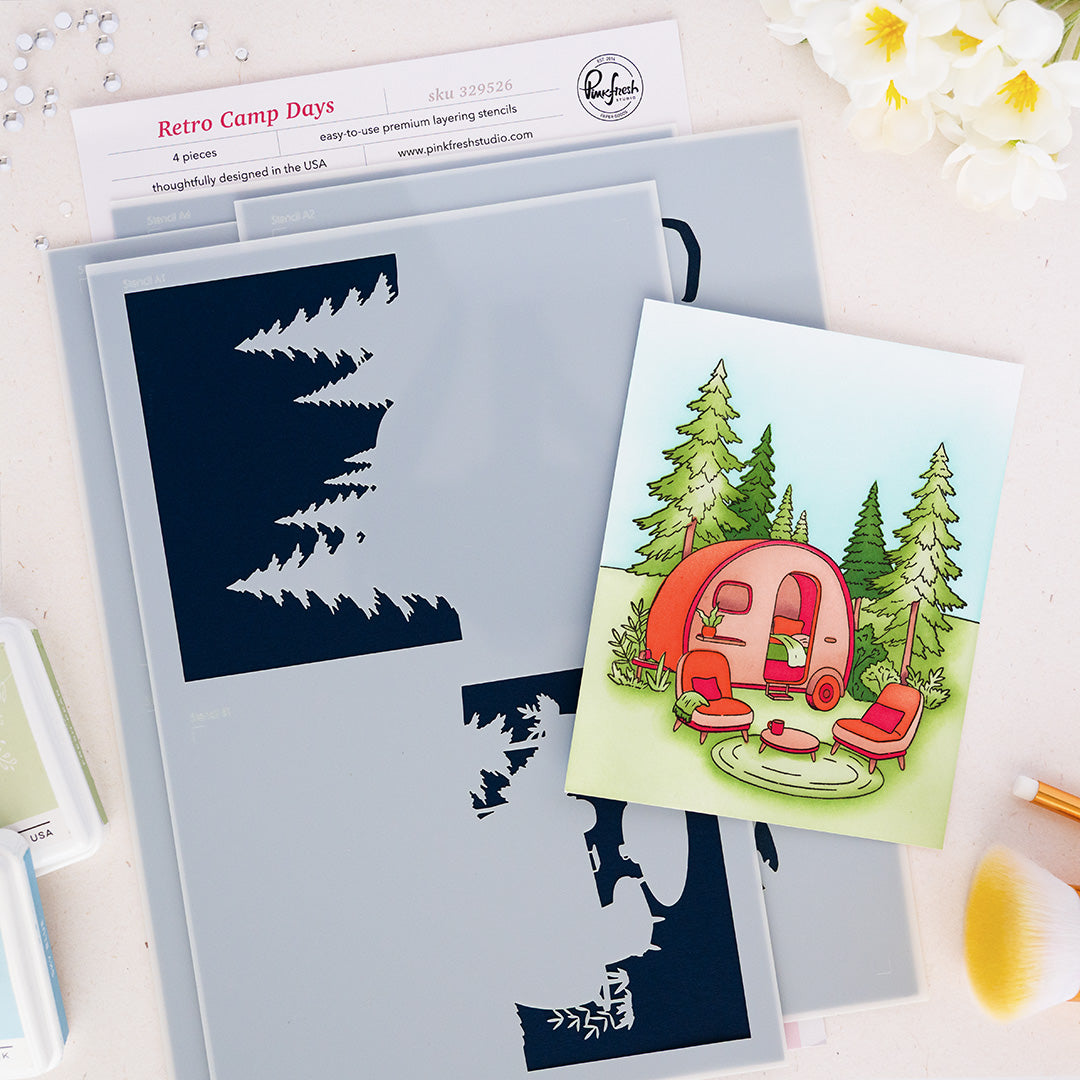
- Color the second stamped panel using the coordinating stencils:
- Stencil 1A: Eucalyptus, Spruce Tips
- Stencil 1B: Slumber, Stargazer
- Stencil 2A: Fruit Punch
- Stencil 2B: Sunkissed, Fruit Punch
- Stencil 3A: Sage, Eucalyptus
- Stencil 3B: Fruit Punch (camper and pillows); Rocky Slope (chair and table)
- Stencil 4A: Slumber (window and camper); Doe (tree trunks); Rocky Slope (wheels, chairs, shelf)
- Stencil 4B: Spruce Tips and Evergreen for additional contrast as desired
- Die cut an oval from the colored panel using the coordinating Nested Ovals Double Stitch Die.
- Adhere the oval over the uncolored stamped panel, carefully aligning the stamped images.
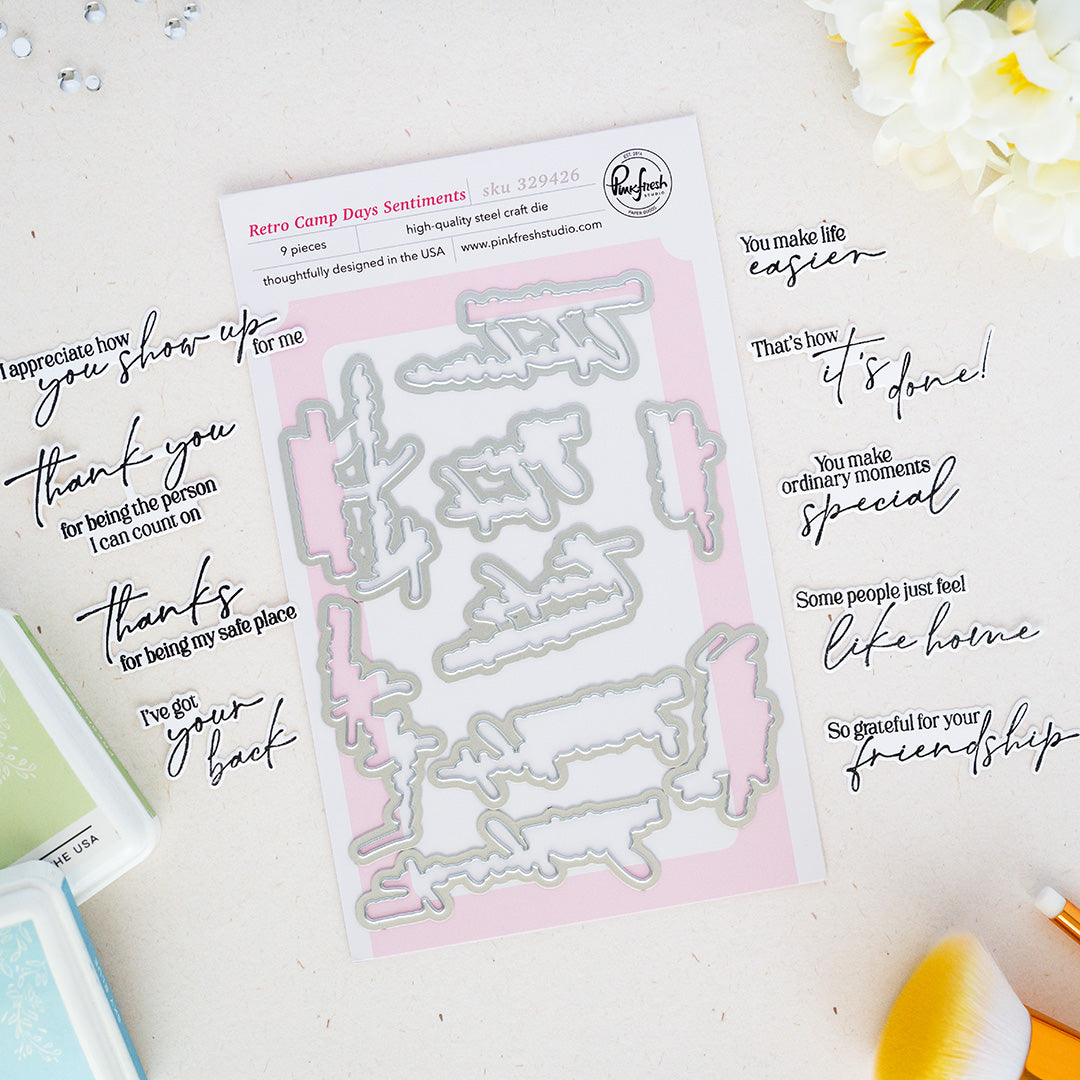
- Stamp the sentiment using Detail Black ink, die cut with the coordinating die, and stack with one additional blank die cut for added dimension.
- Adhere the sentiment to the scene using liquid glue.

I love how this spotlight technique creates so much impact while keeping the design clean and simple. Layering the colored oval over the uncolored stamped background naturally draws your eye to the vibrant camper scene, while the dimensional sentiment adds just the right finishing touch. It's a fun way to showcase detailed stencil coloring and is easy to adapt to so many other stamped scenes.
Thanks so much for stopping by today, and I'll see you again soon with more inspiration!
Recommended Products










Leave a comment
All comments are moderated before being published.
This site is protected by hCaptcha and the hCaptcha Privacy Policy and Terms of Service apply.